
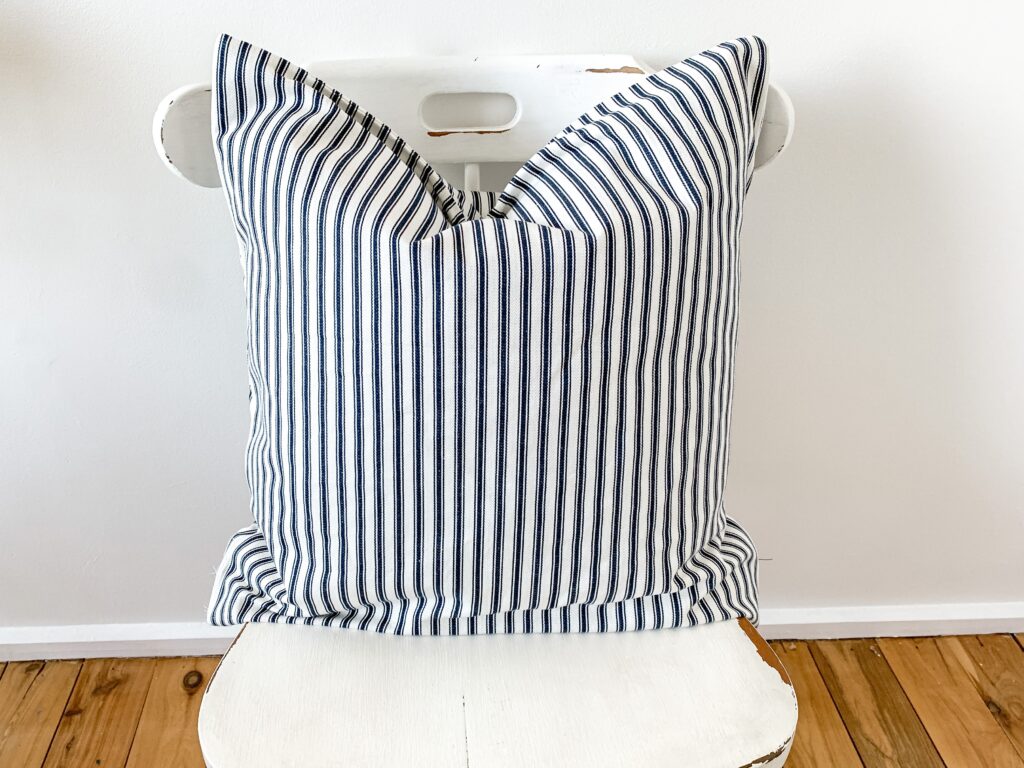
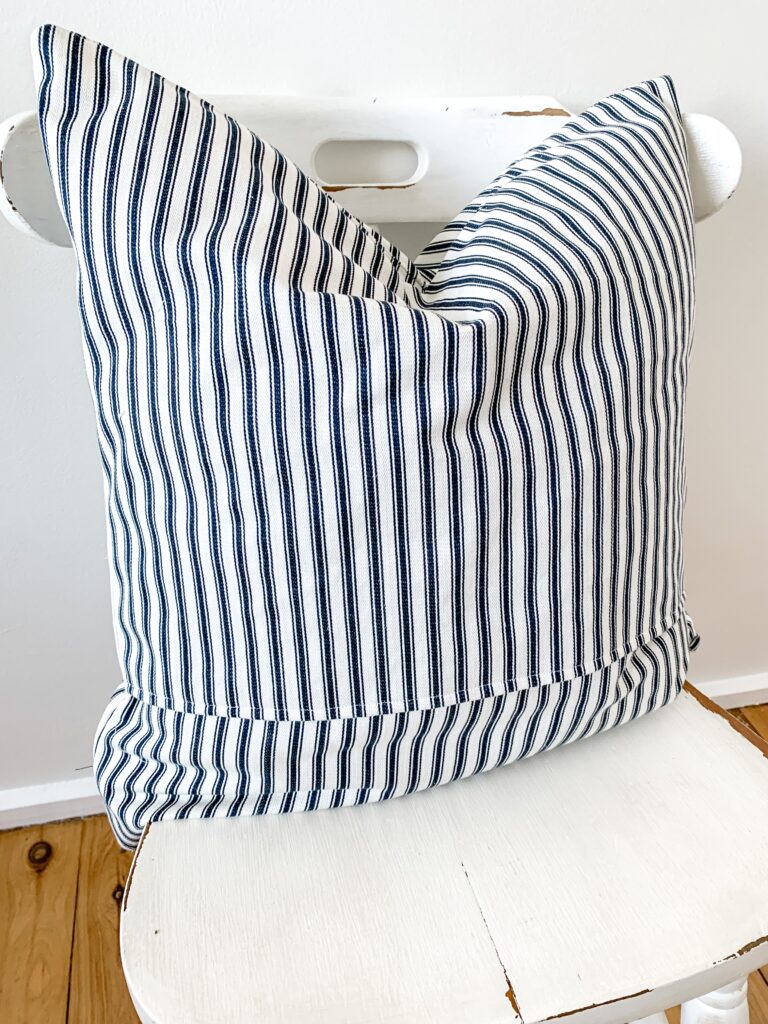
This easy to sew cushion cover is a great afternoon project to give your home a fresh new feeling.
This post contains affiliate links to products. I may receive a commission for purchases made through these links.
A nice set of cushions really make a house feel homey, and with this easy tutorial, you’ll be able to make your very own lovely set in exactly the colours you want at a fraction on the price to buy!

How to sew an envelope cushion cover
Envelope covers are the absolute simplest as they don’t require zippers or buttons or any fixtures!
The envelop cover is made up of two back pieces which overlap each other to form the closure.
What you will need
- Roughly 1.5 m of fabric (slightly less but depends on material width and the size of your cushion insert)
- Cushion insert (I recommend a feather insert) see one here
- Matching thread
- Scissors
- Pencil
- Measuring tape
- Pins
- Iron
- Sewing machine or needle and thread
Prep your fabric
Whenever you’re sewing something that you intend to be washable, pre wash your fabric. This will prevent any shrinking or colour running later once your project is complete.
Shop this project
I bought the supplies for this project locally, but I have found some similar items on Amazon for you that I hope are useful. (These links are affiliate links)
Mattress Ticking Fabric, cream.
Cushion Inserts (I couldn’t find pure feather inserts so these are a duck feather alternate)
Dress Maker Scissors (These look really nice!)
Brother Sewing Machine (Not the same model as my machine, but same brand and looks very similar, I have had my Brother machine since my 14th birthday and I love it)
Gutermann Cotton Sewing Thread
Cut out the three sections of your pillow
The envelope cushion is made up of three sections. Measure your insert and cut out one square that is the size of the cushion, plus 2cm on each side for seam allowance. Ie, my cushion is 52x52cm so I will cut out a square that is 56x56cm.
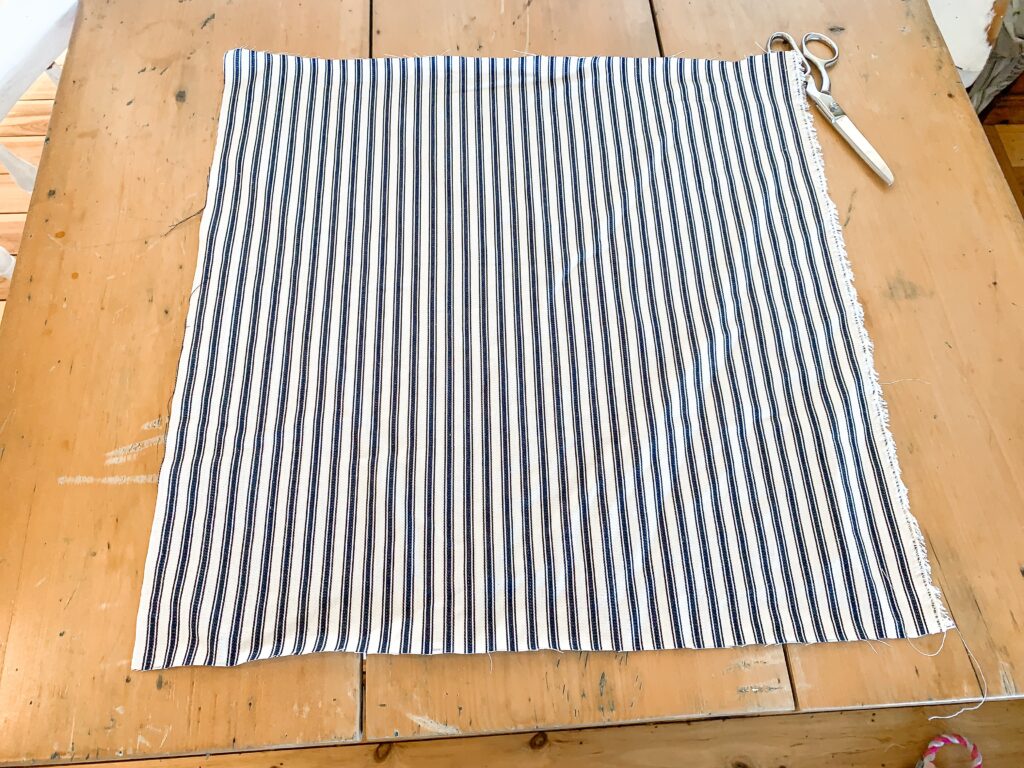
Once you have the main square, fold it back by about 3/4 (in my case I folded it back to 41cm) and cut out two. The rectangles for my cushion we’re therefore 56x41cm.

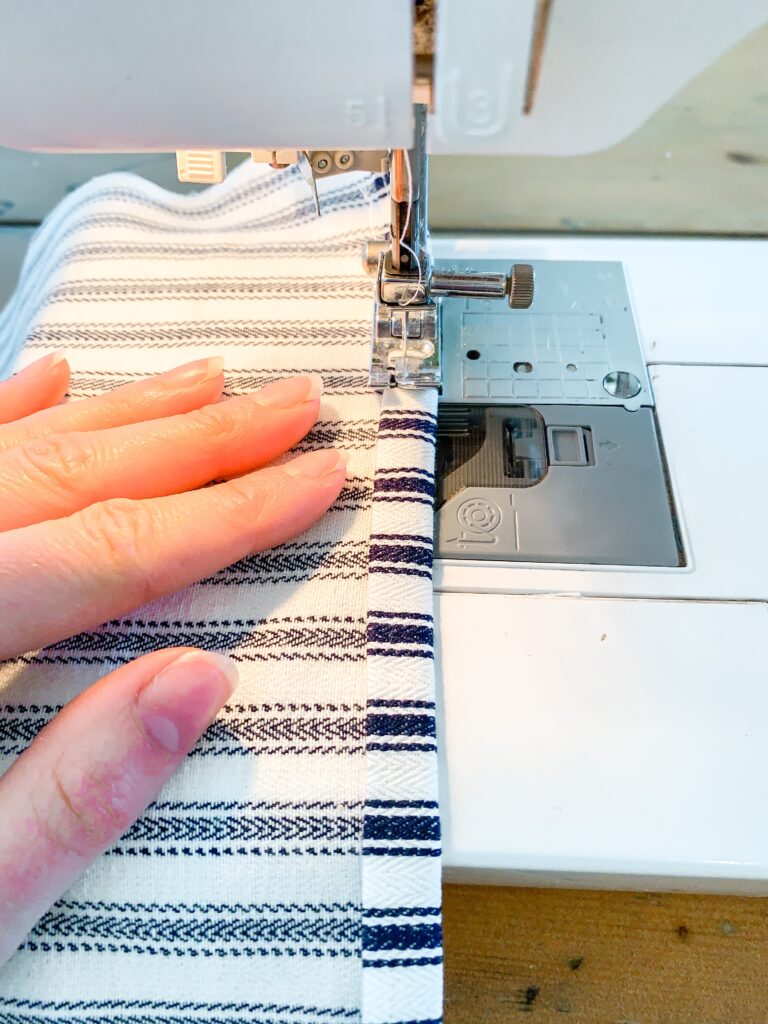
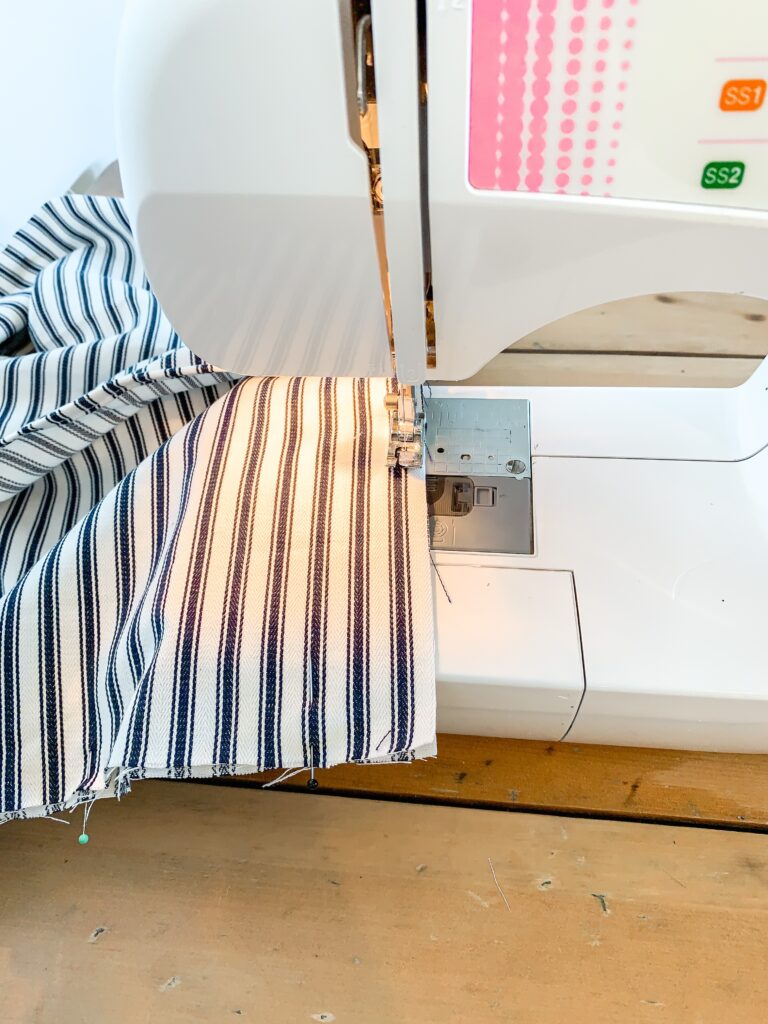
Fold over one long sided raw edge on each of the rectangles twice and iron, pin flat and sew.
Then lay the pillow together with right sides facing out. Yes that’s right, we’re going to sew a French seam to encase the raw edges to extend the life of your pillow so it’s machine washable and to have a more professional finish. To do this you first sew the seams with wrong sides together, trim the seams back and then sew with right sides together, encasing the raw edge.


Sew all the way around with a 1cm seam allowance.
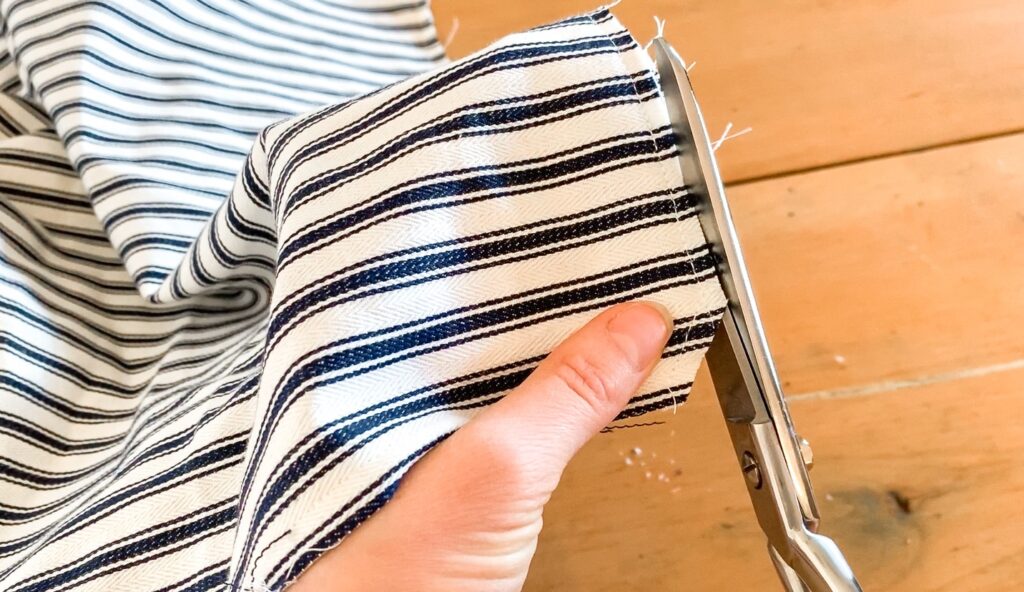
At the corners, sew a diagonal line across the corner in about 1cm and trim the material back so that the corners are cut off. This will help the finished product have pointier corners.


Then trim all around the edges, nice and close to the seam you just sewed.
Turn the cover in the opposite way, so that right sides are facing and press out corners and the seam as neatly as possible and iron flat.

Then sew all along the edges with a 1cm seam allowance or as wide as needed to not catch the raw edges folded underneath. At the corners, turn the machine by leaving the needle in the material and lifting the foot and turning so that the corners will have a point.

Turn you cushion cover to the right way, and push out corners with a knitting needle or pencil if needed to help get a nice crisp corner. Give it an iron. And you’re done!


Such a beauty! And so easy!
Mix and match your cushions and colours and patterns and have fun making your homey set of cushion covers!


This looks so simple and easy! I have to give it a try!
Thanks Michelle! It really is! Tag me on social media when you do, I’d love to see it!